Camp & Draw: To Capture the Night
By Savannah Troy
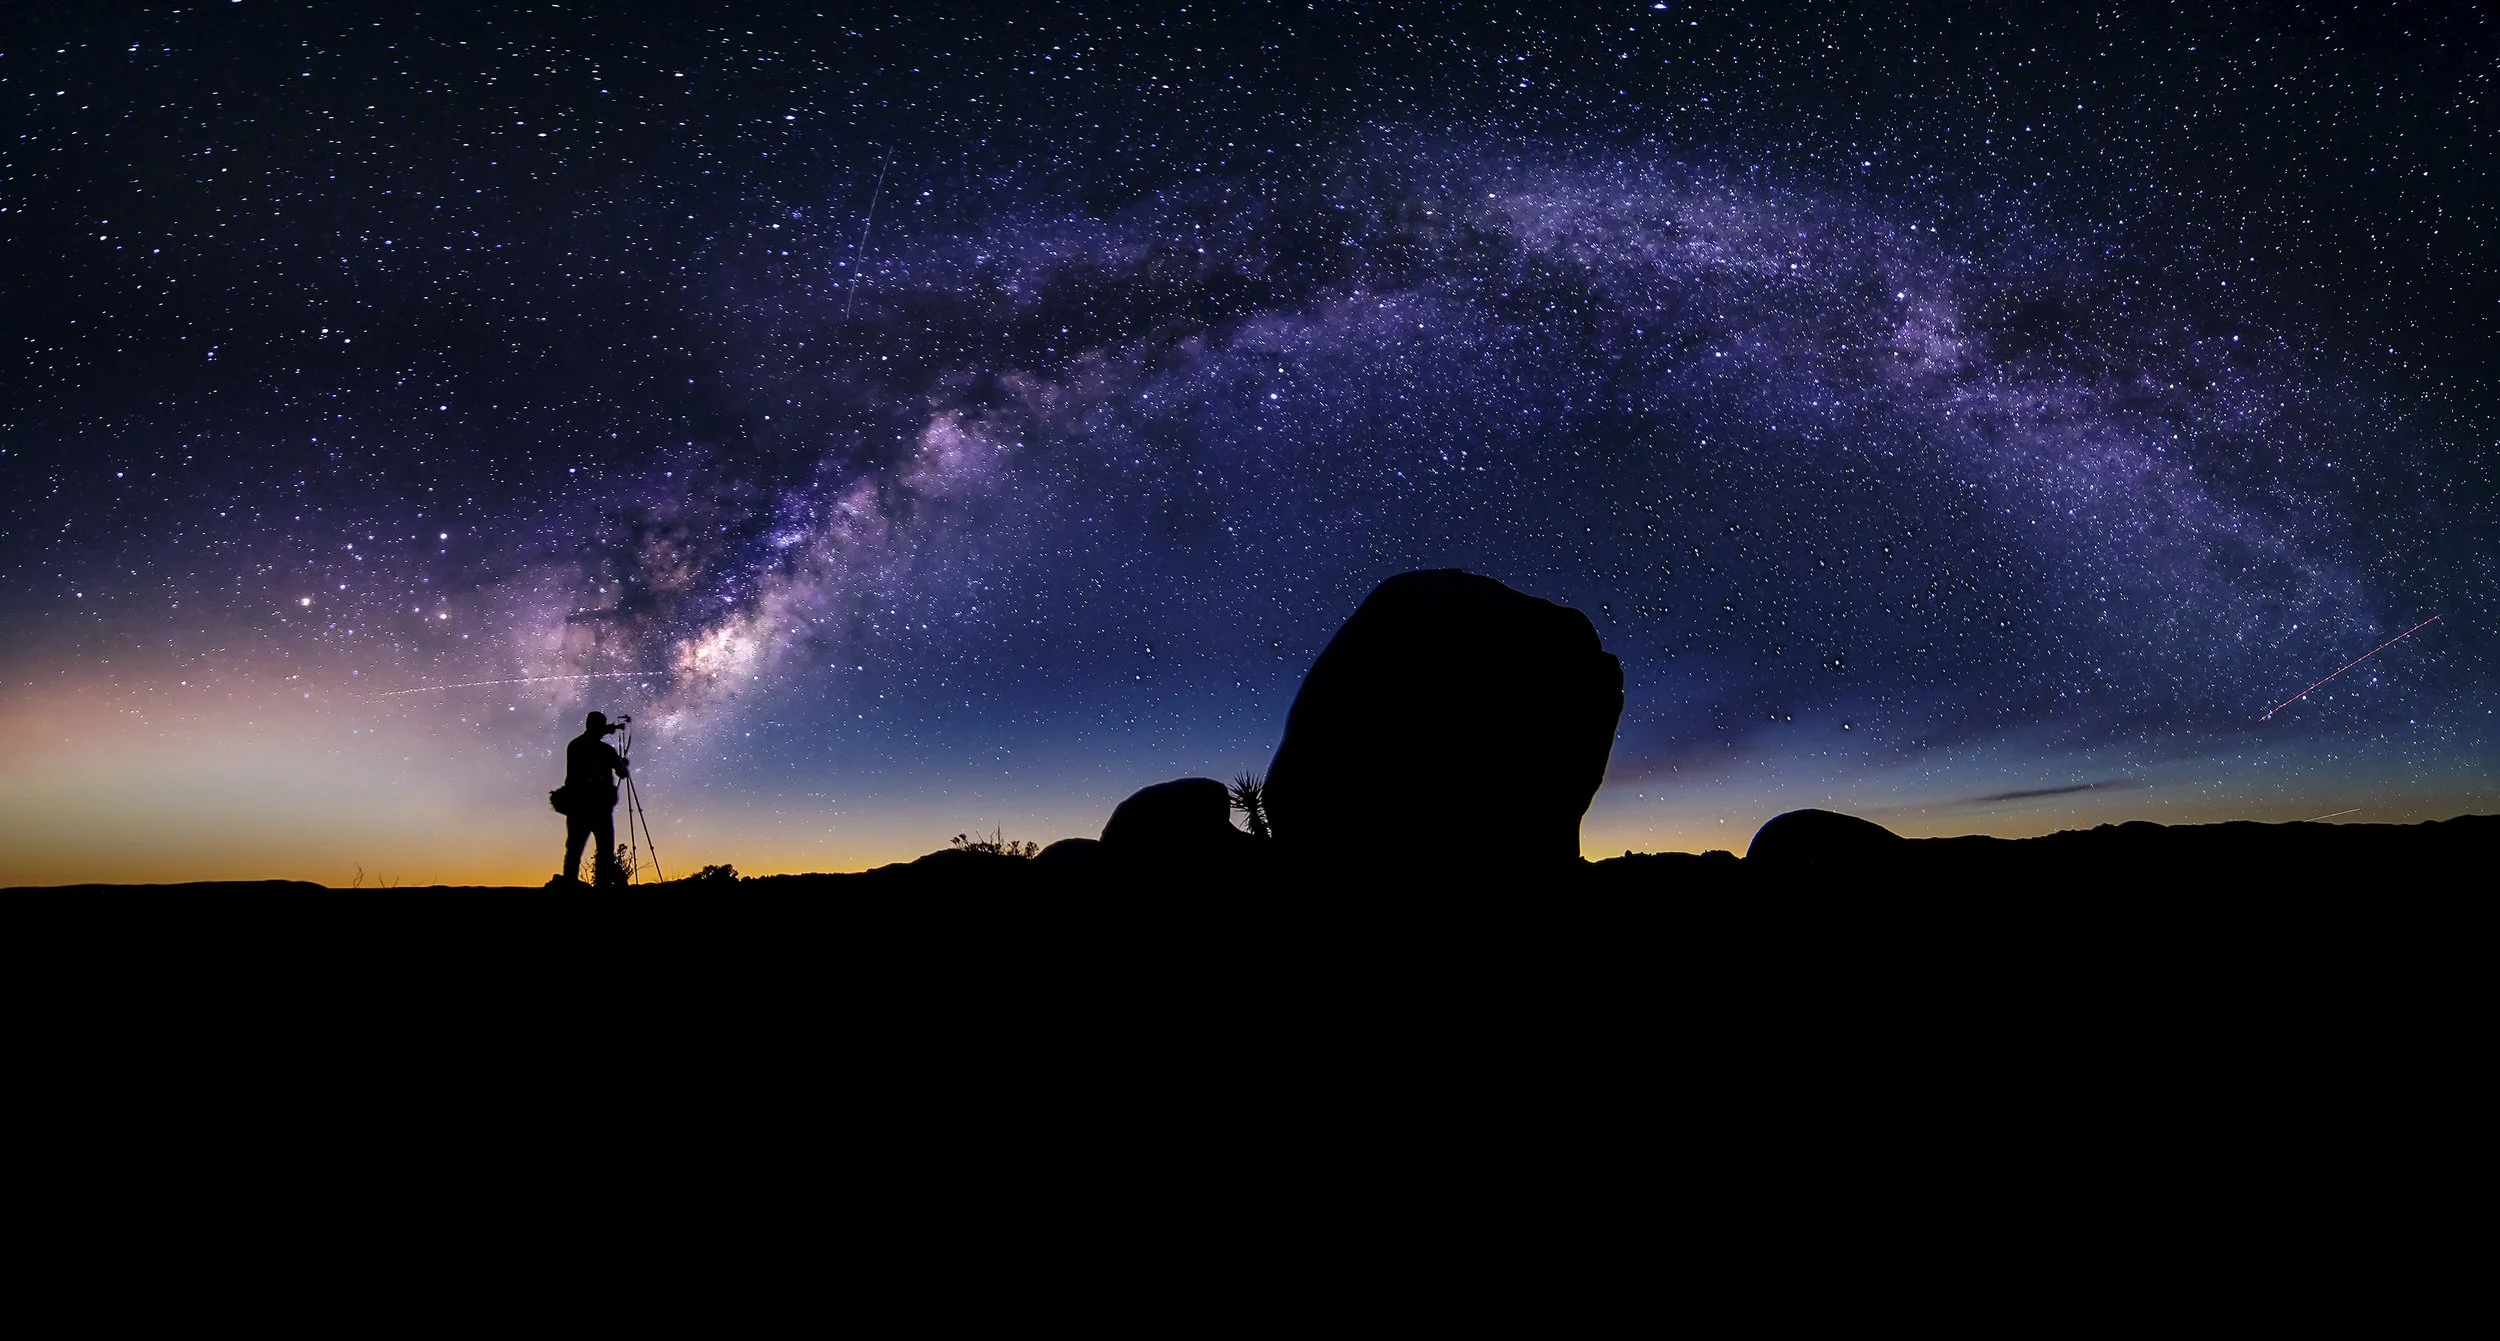
Night photography can pose some interesting challenges. Cameras require light to operate, which the night obviously lacks. The few sources of light present at nighttime are usually breathtaking, though, and the desire to capture them in a photograph can be overwhelming. Specifically, I love to take photographs of the stars at night, especially if I’m camping in a beautifully dark location with a night sky unsullied by city light pollution.

The following photography tutorial can be applied with minor adjustments in any location, but the darker sky you can find the better your photo will be. Here and here are resources that can help you locate places with dark skies, complete with international maps.
To begin taking star photos, you’ll need equipment. A DSLR camera with a manual settings option is ideal, as is a tripod. If you don’t want to pack a tripod out with you, you’ll need to find somewhere stable to rest your camera as you are taking the picture. On your camera, you’ll want a wide-angle lens (either a fixed lens or one that zooms out to at least 18mm). With all of these supplies, you can get your camera settings ready:
ISO: the ISO determines the sensitivity of the light sensor inside of the camera. On a film camera, this is a set value based on the kind of film you use. However, with DSLRs, you can change this setting. The higher value ISO you have, the more grainy your photo will turn out. Thus, it’s best to start a little low and work your way up until you hit the sweet spot. I recommend starting your ISO at 1600 for astrophotography.
F-stop: the F-stop of a camera indicates how dilated the lens is. The aperture is the hole in the lens that allows light in, like the pupil of an eye. A lower f-stop number means the aperture is open more widely. For star photos, you should put your f-stop on the lowest possible setting for that lens. Most standard lenses may only go down to 5.6, while somewhat nicer lenses can get down to 2.8. If your lens only reaches 5.6, you will probably need to compensate by increasing the ISO or the exposure.
Lens settings: pretty much every lens these days has a switch on the side that allows you to turn autofocus on and off. For star pictures, turn the autofocus off and manually focus the camera as far away as it will go.
Shutter speed: by changing the shutter speed, you change how quickly the lens opens and closes. For stars, you need an extremely slow shutter- I recommend 20 seconds as a start
Once you have all these settings, all you need to do is set your camera at whichever star area you’d like and click the shutter button. Depending on your individual camera and the lighting conditions, you may have to troubleshoot by adjusting each setting to your preference.

Happy stargazing!